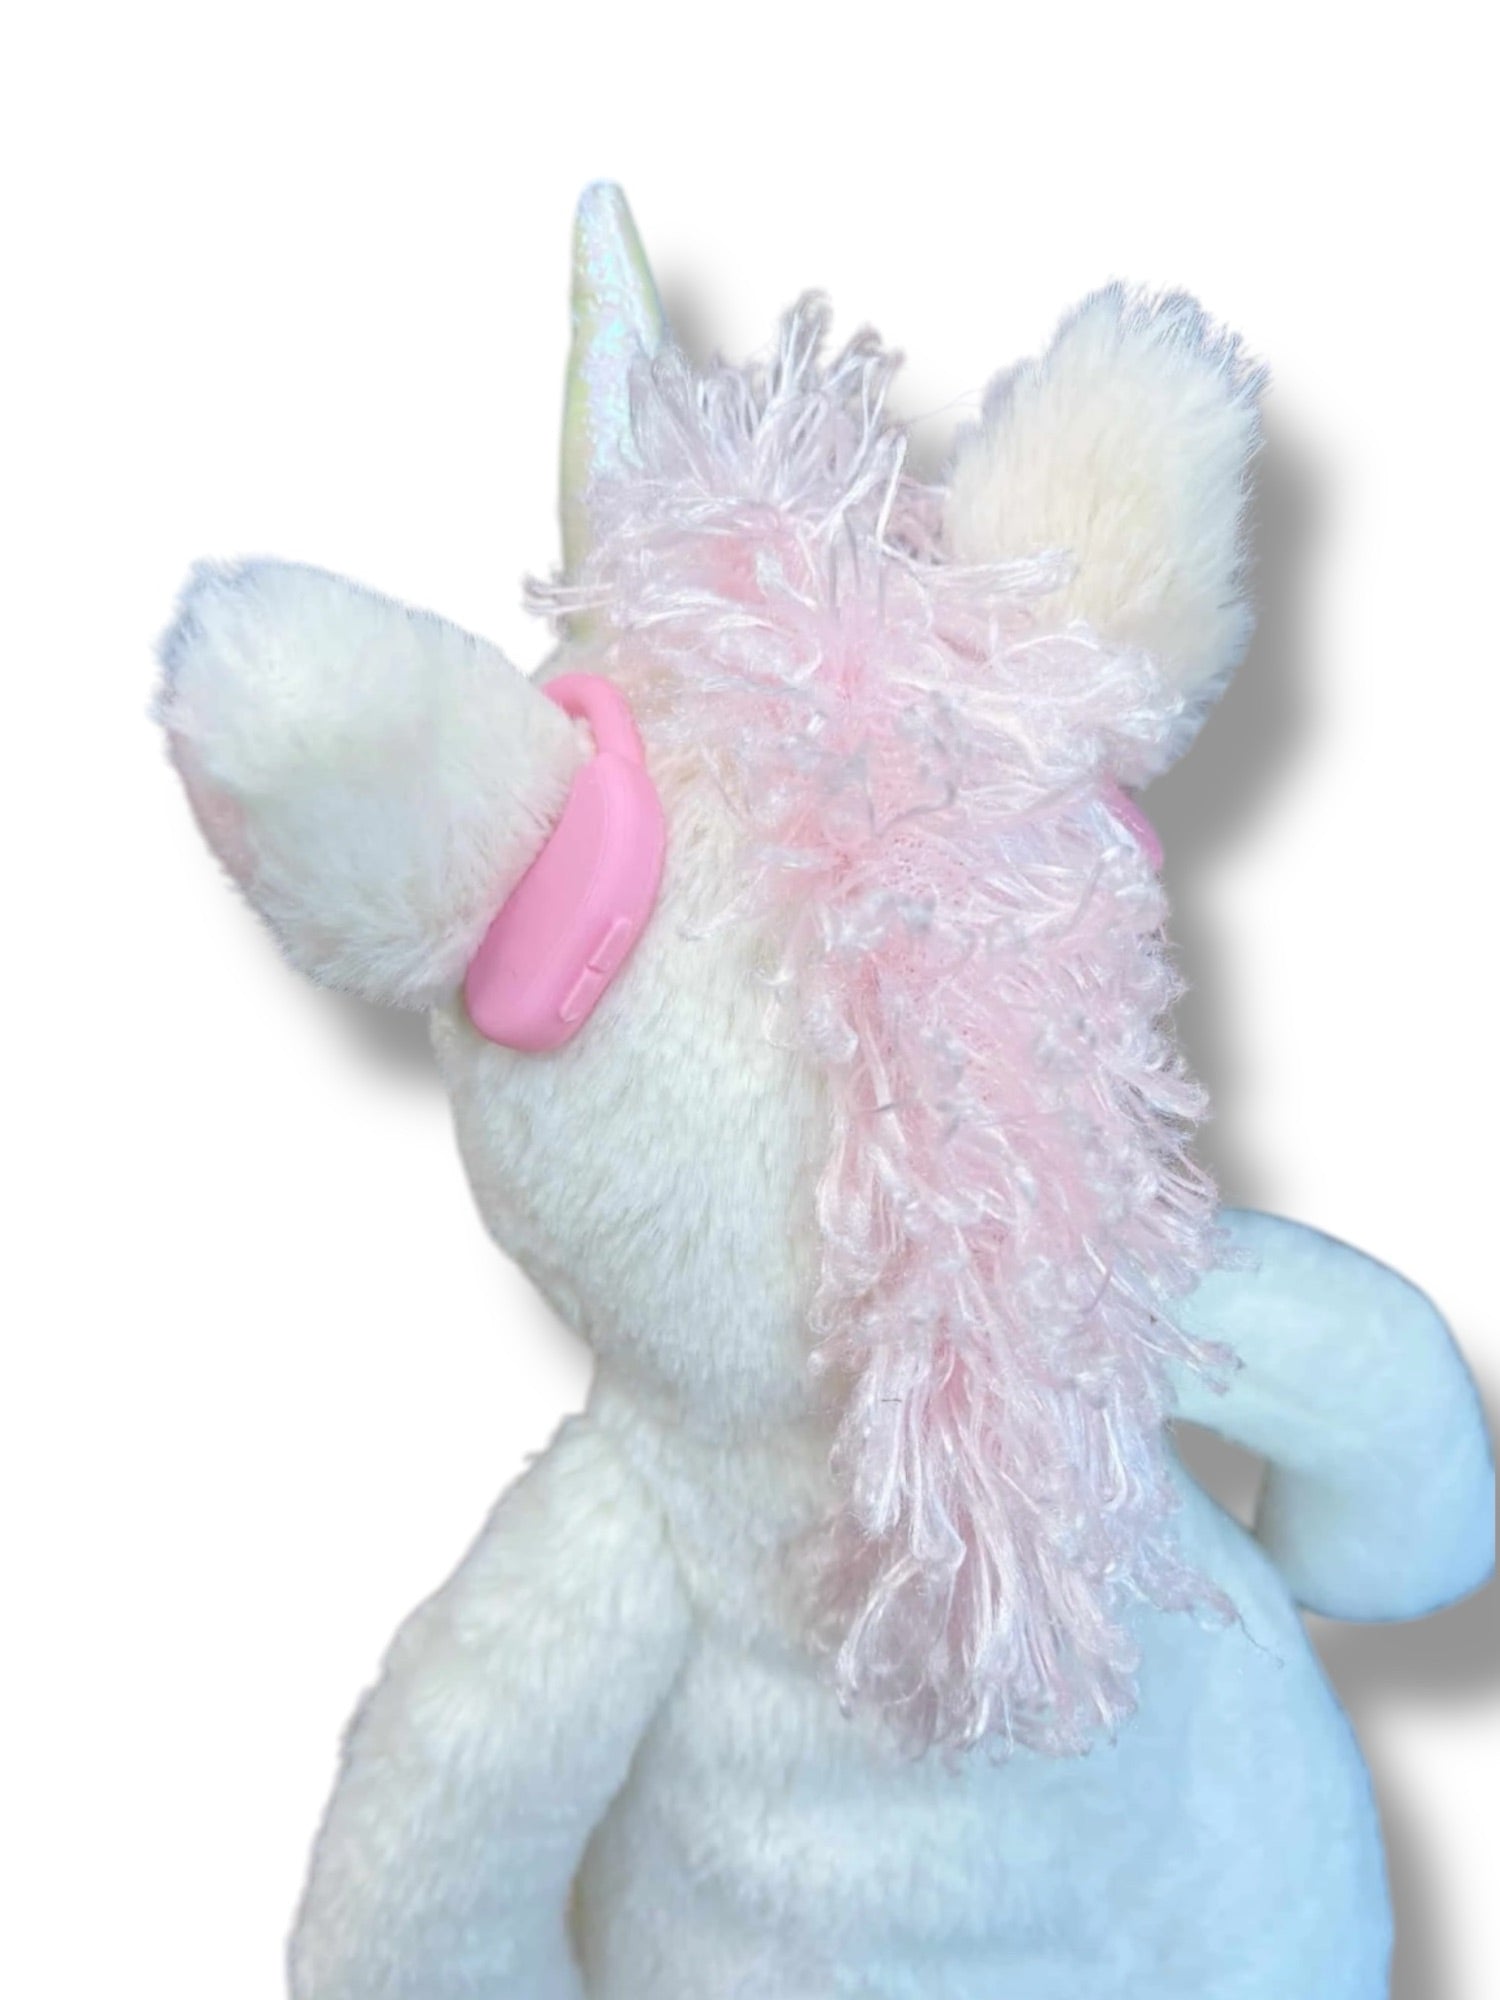
"Old" Instructions
**NOTE: We are amidst updating all of our button-back designs to have a needle channel (see above instructions). The following instructions are for the “old” design**
Step 1:

Feed the thread through the needle.
Tie a knot on the end of the thread.
Put needle through fabric of where you want the G-tube to be on the stuffie/doll.
Pull tight to make sure that your knot is big enough to prevent the string from being pulled completely through the fabric!
Step 2:

Take the needle OFF! (only if there is no slot for the needle to pass through)
Feed the string/thread through the button back.
Re-thread the needle.
(No need to pull tight yet)
Put needle through fabric again, right next to where your initial stitch is.
REPEAT this step as many times as you’d like. Just a few passes should be enough to keep it secure!
Step 3:

Pull tight!
The button should sit flat against the belly.
You can now “knot off” the string. I like to make another pass through the fabric with the needle, putting the needle through the loop to make a knot.
Then cut off the excess string, and VOILA!
You did it!
And now you have an adorable stuffed animal with a G-tube.

Please let me know if you have any questions! I’d love to see your tubie stuffies in the comments below.
